
Enjoy Part 1 here on the actual construction of the tray.
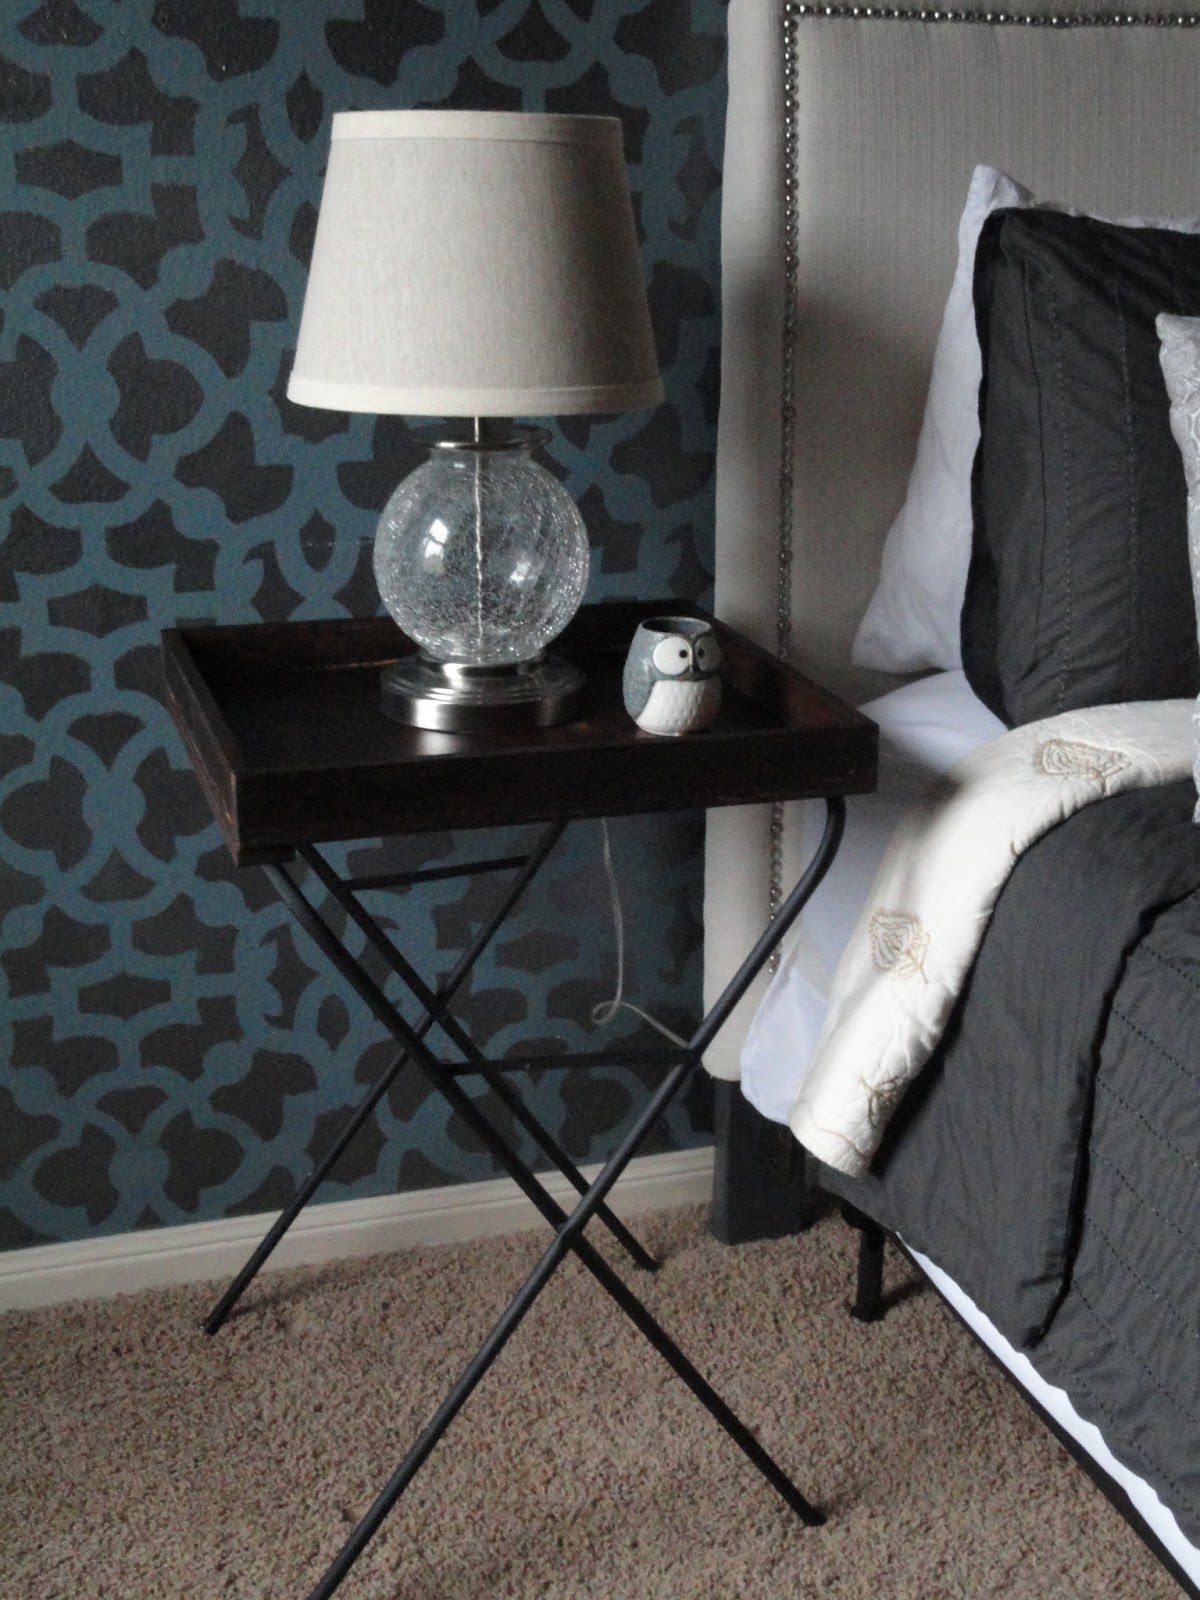
I decided to spray paint the JÄLL and hardware Krylon flat black. Do this in a well ventilated area. For the tray I am using Miniwax in Red Mahogny. Before I stained the tray I decided to rough it up a little but since Andy wanted it to look industrial. I used my sander to bare down on some places and I rounded off the edged. I used a filed to make it look banged up. I followed the instructions on the can and stained the tray and the bottom poplar board. Once the stain is dry, attached the 18" long bottom poplar board to the bottom of the tray with wood glue and finishing nails. Allow it to dry.
It is now time to attached the tray to the JÄLL. I used these small white platics loops which I found at Lowes and spray painted black. The small silver pieces I originally was going to attach to the corners as decor but I got lazy and decided to hold off.

The looped side obviously goes around the JÄLL. The flat side goes flush again the tray. Screw in two for each side. It will not be a snug fit, so place them far enough apart ti where the tray will not slide too far to the left or to the right.

You know what a DIY butler tray. It can serve as a night stand, a patio table, a laptop table or what have you. I decided I liked mine as a bedside table.
No comments:
Post a Comment